Introduction
I have met many people in my life who unfortunately do not understand how to do simple technological tasks. This can be because they are of an older generation and email was not a thing of their generation, or because they simply have not been properly educated on how to perform such a task with email. In my blog today I demonstrate the proper motions of attaching a file to an email using Gmail which is the platform of choice by the majority of email users.
Step 1
The first step to go about an attaching an email is to obviously start the email. The user will do this by clicking the “compose” button in the upper left-hand corner of the Gmail page. This will then take them to step 2 in the process.

Step 2
The next step in the process will be to click the paperclip icon shown in the image below. This will provide the user access to the file browser to enable them to select the file(s) they desire to attach to the email.
Step 3
Step 3 then begins with the user being on the file browser window; from here, the user is able to select either 1 or multiple files a the same time to be attached to the email (note: 25mb in size is the maximum all or 1 file can amount to in order for the email to be allowed to be sent) if you look in the third column in image below, this will provide sizing information for each of the users files.

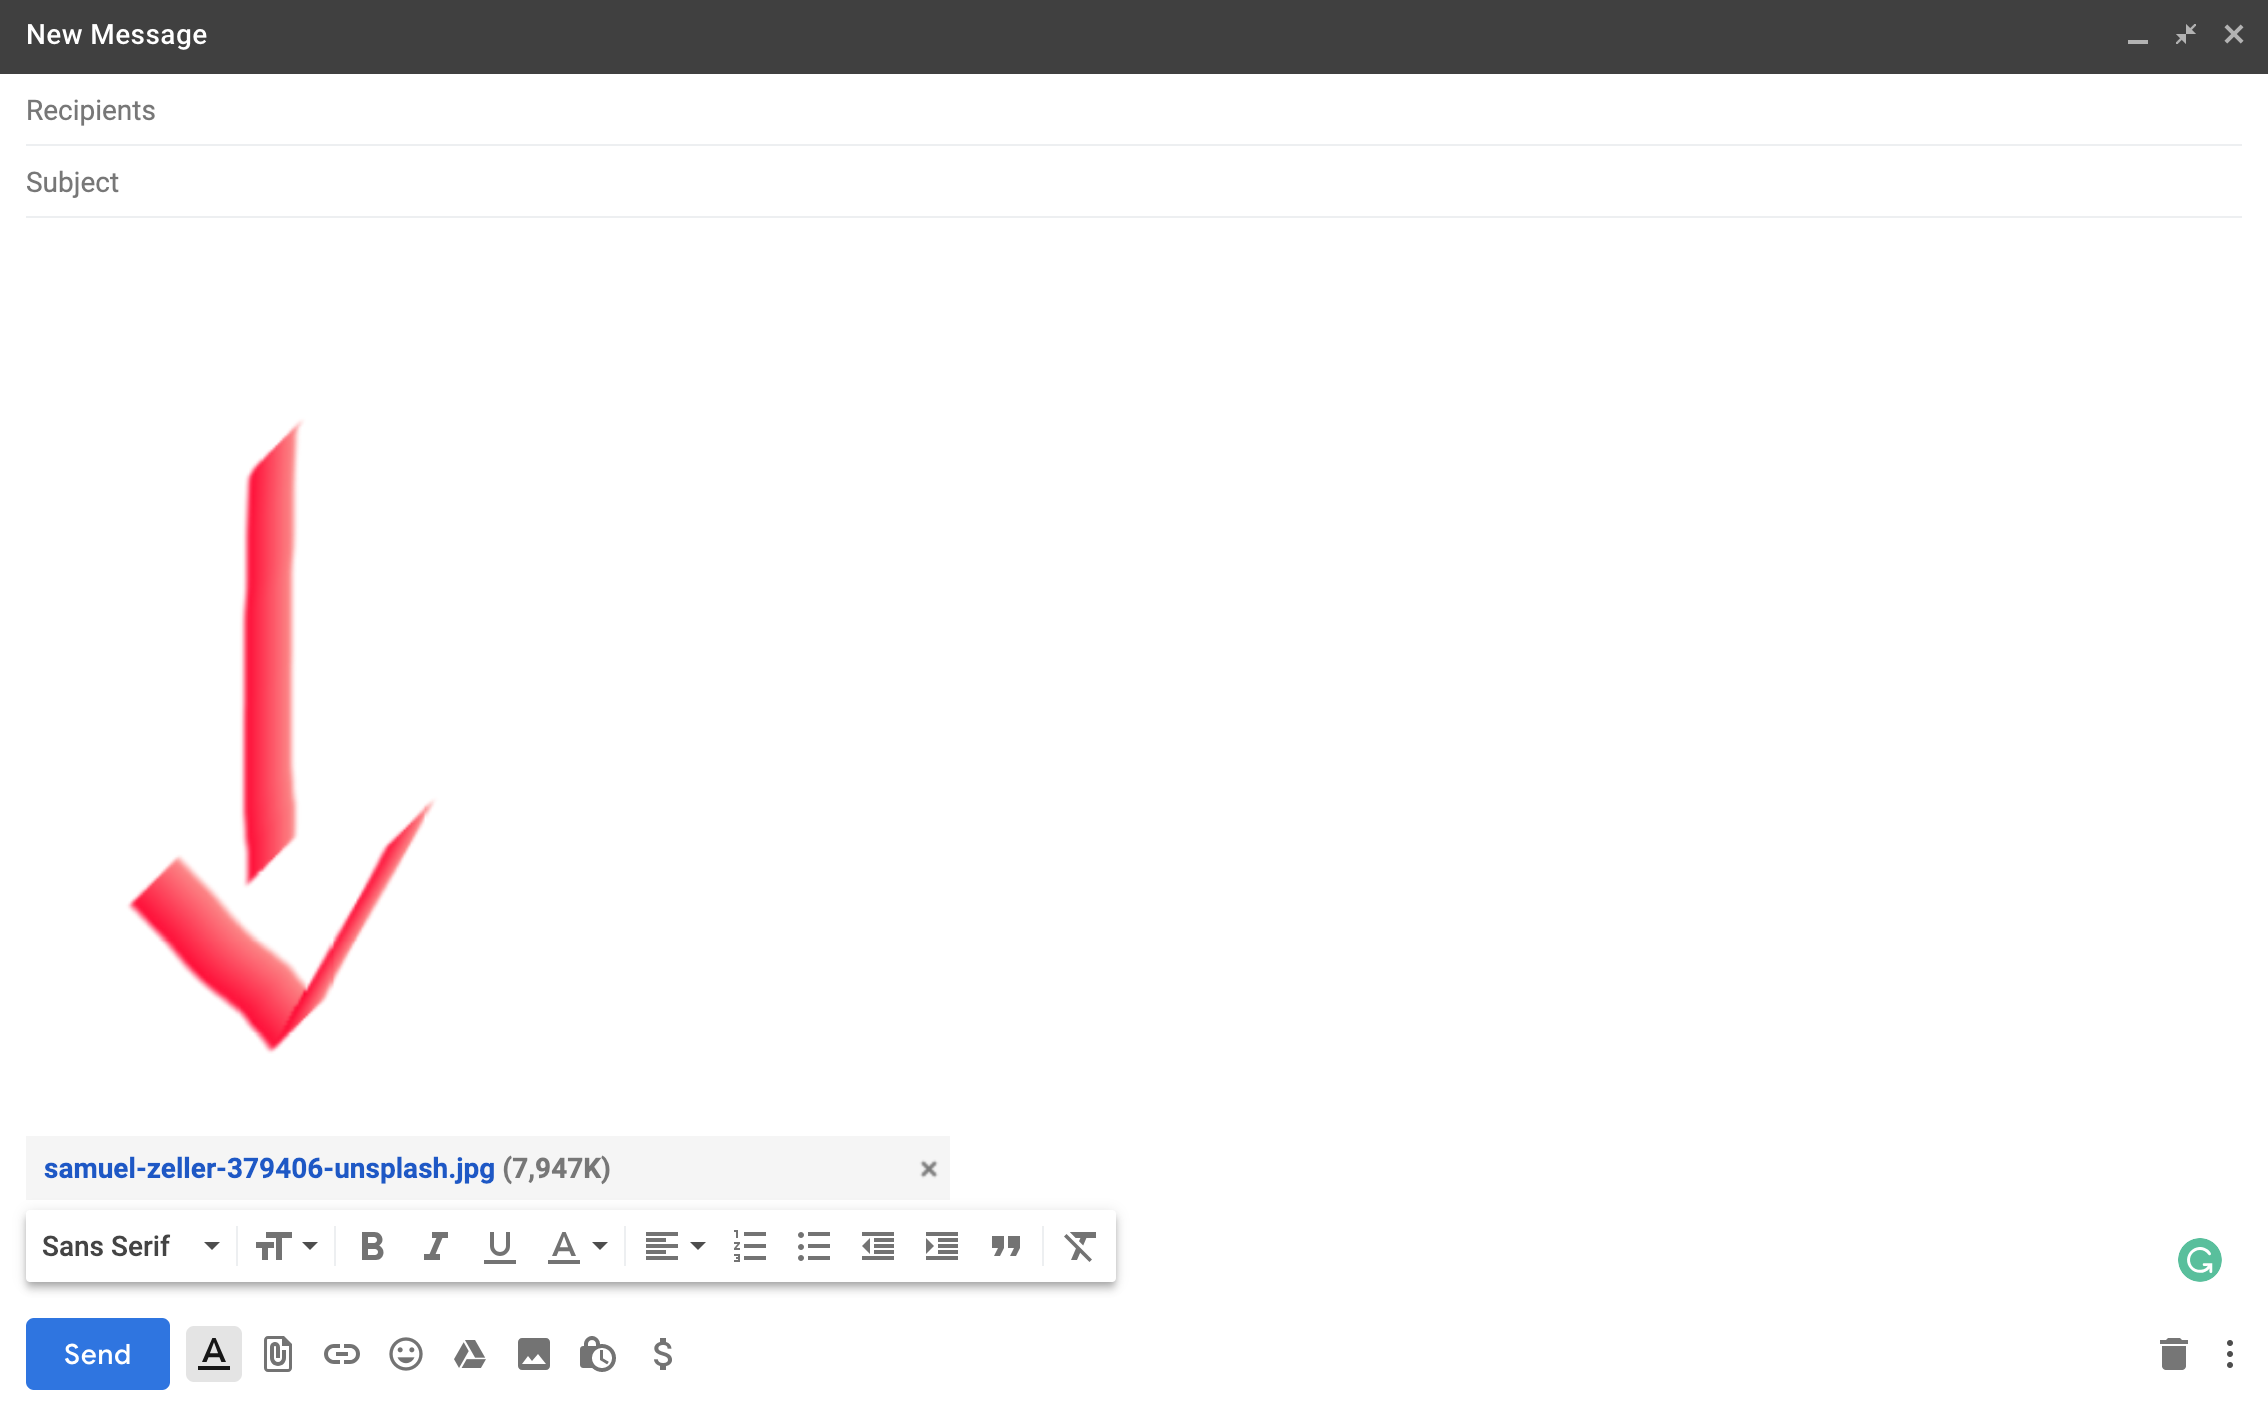
The Result
As you can see in the image below, I have now attached the image file that was highlighted in blue in the image above this text. The email is now ready to be sent off with the file attached and any text in the body and subject the user might include.